Proper nutrition is essential when you’re backpacking for two months straight. Your body must get sufficient and efficient energy. However, before you start planning all kinds of elaborate alfresco meals and rustic picnics, remember that what you eat is what you wear – and carrying all that food on your back for a week can be heavy. So how should you plan your meal schedule and what exactly should you eat? How many days’ worth of meals do you need to calculate, and how does food affect your progress on the trail? Like my other articles, this information can be applied to any trek, both short and long. I’ve also included some great recipes.
Food on the Trail – General Guidelines:
Walking the Israel National Trail or any trek on foot begins with correct planning – and this also applies to food. I believe that meals for a solo traveler versus meals for a pair or group of travelers are fundamentally different both in terms of the food itself and the items worth carrying. On a solo trip, I would stick to brief, light meals that require carrying very little weight, but in pairs or in a group you have more room to splurge on quantity and variety since you’ll be able to distribute the weight between you.
One of the biggest advantages of trekking in Israel is the accessibility to places where you can replenish your food supply. For this reason I would suggest packing meals for one week at most. Some segments enable you to factor in lunch at a local fast-food place or cafe which means less to carry. It’s also worth knowing that the northern segments offer you better access to commercial and other food supply options than the segments in the south.
Trekking the full Israel National Trail takes between 8 and 10 weeks. In the north, you’ll be able to replenish your food supply along the way, but the south is an entirely different beast.
Here I’ve mapped out two different examples of food items you should pack for a one-week trek. The first is what to take if you’re going solo and the other is what to take if you’re trekking as a pair or in a group.
Going Solo – Food Guidelines for Israel National Trail:
Meals Planned in Advance
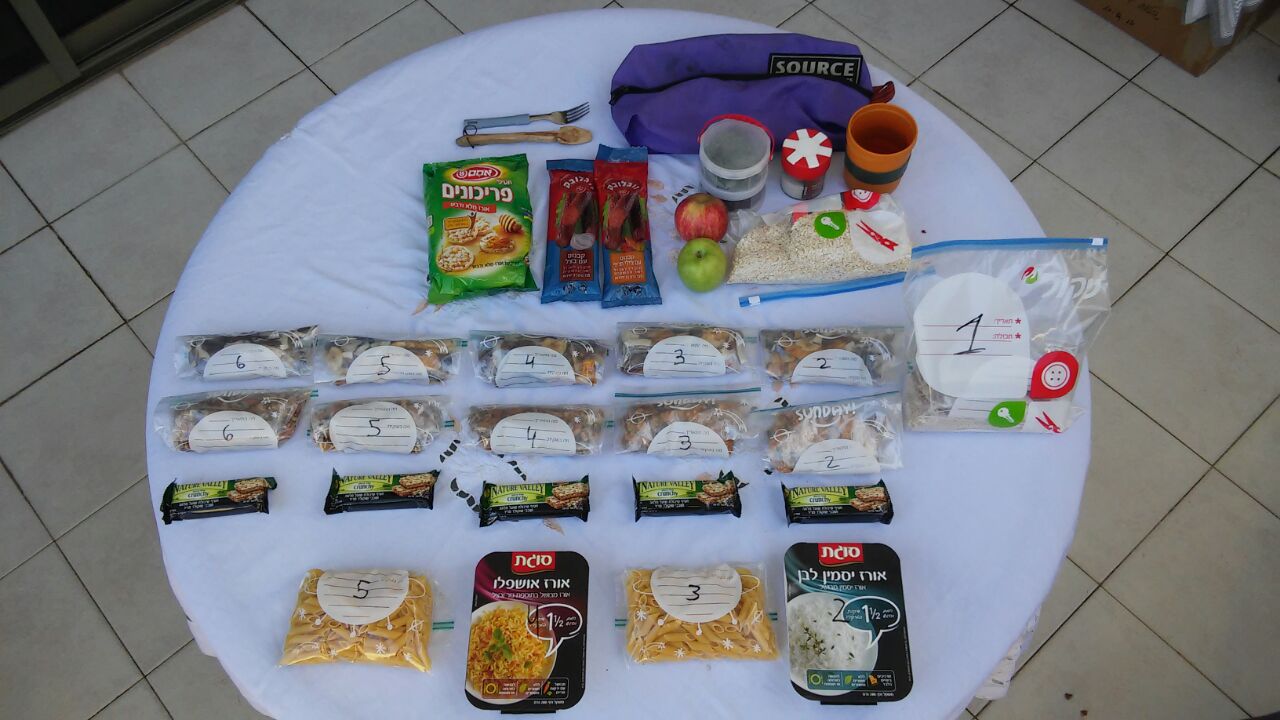
The photo above shows the meals of each day prepared in advance. The number on each bag indicates the meal that corresponds with that day of the trek. The large zip-lock bag (1) is for your small meal bags, snacks and relevant food items for each particular day, including dinner. The rest of your food items and supplies go into a large cloth sack that’s stowed somewhere near the bottom of your backpack. This gives you easy access to your meals for the day without having to dig through your whole bag and deliberate what to eat.
The logic behind all the planning in advance is to calculate only what you need and avoid carrying unnecessary weight. Forward planning and smart preparation will save you time and energy that you can rather invest in taking longer breaks, collecting fire wood or other “chores” required on the trail. It’s proven to be a really valuable strategy for me.
Turkish Coffee, Hearty Breakfast and Pot of Carbs for Dinner:
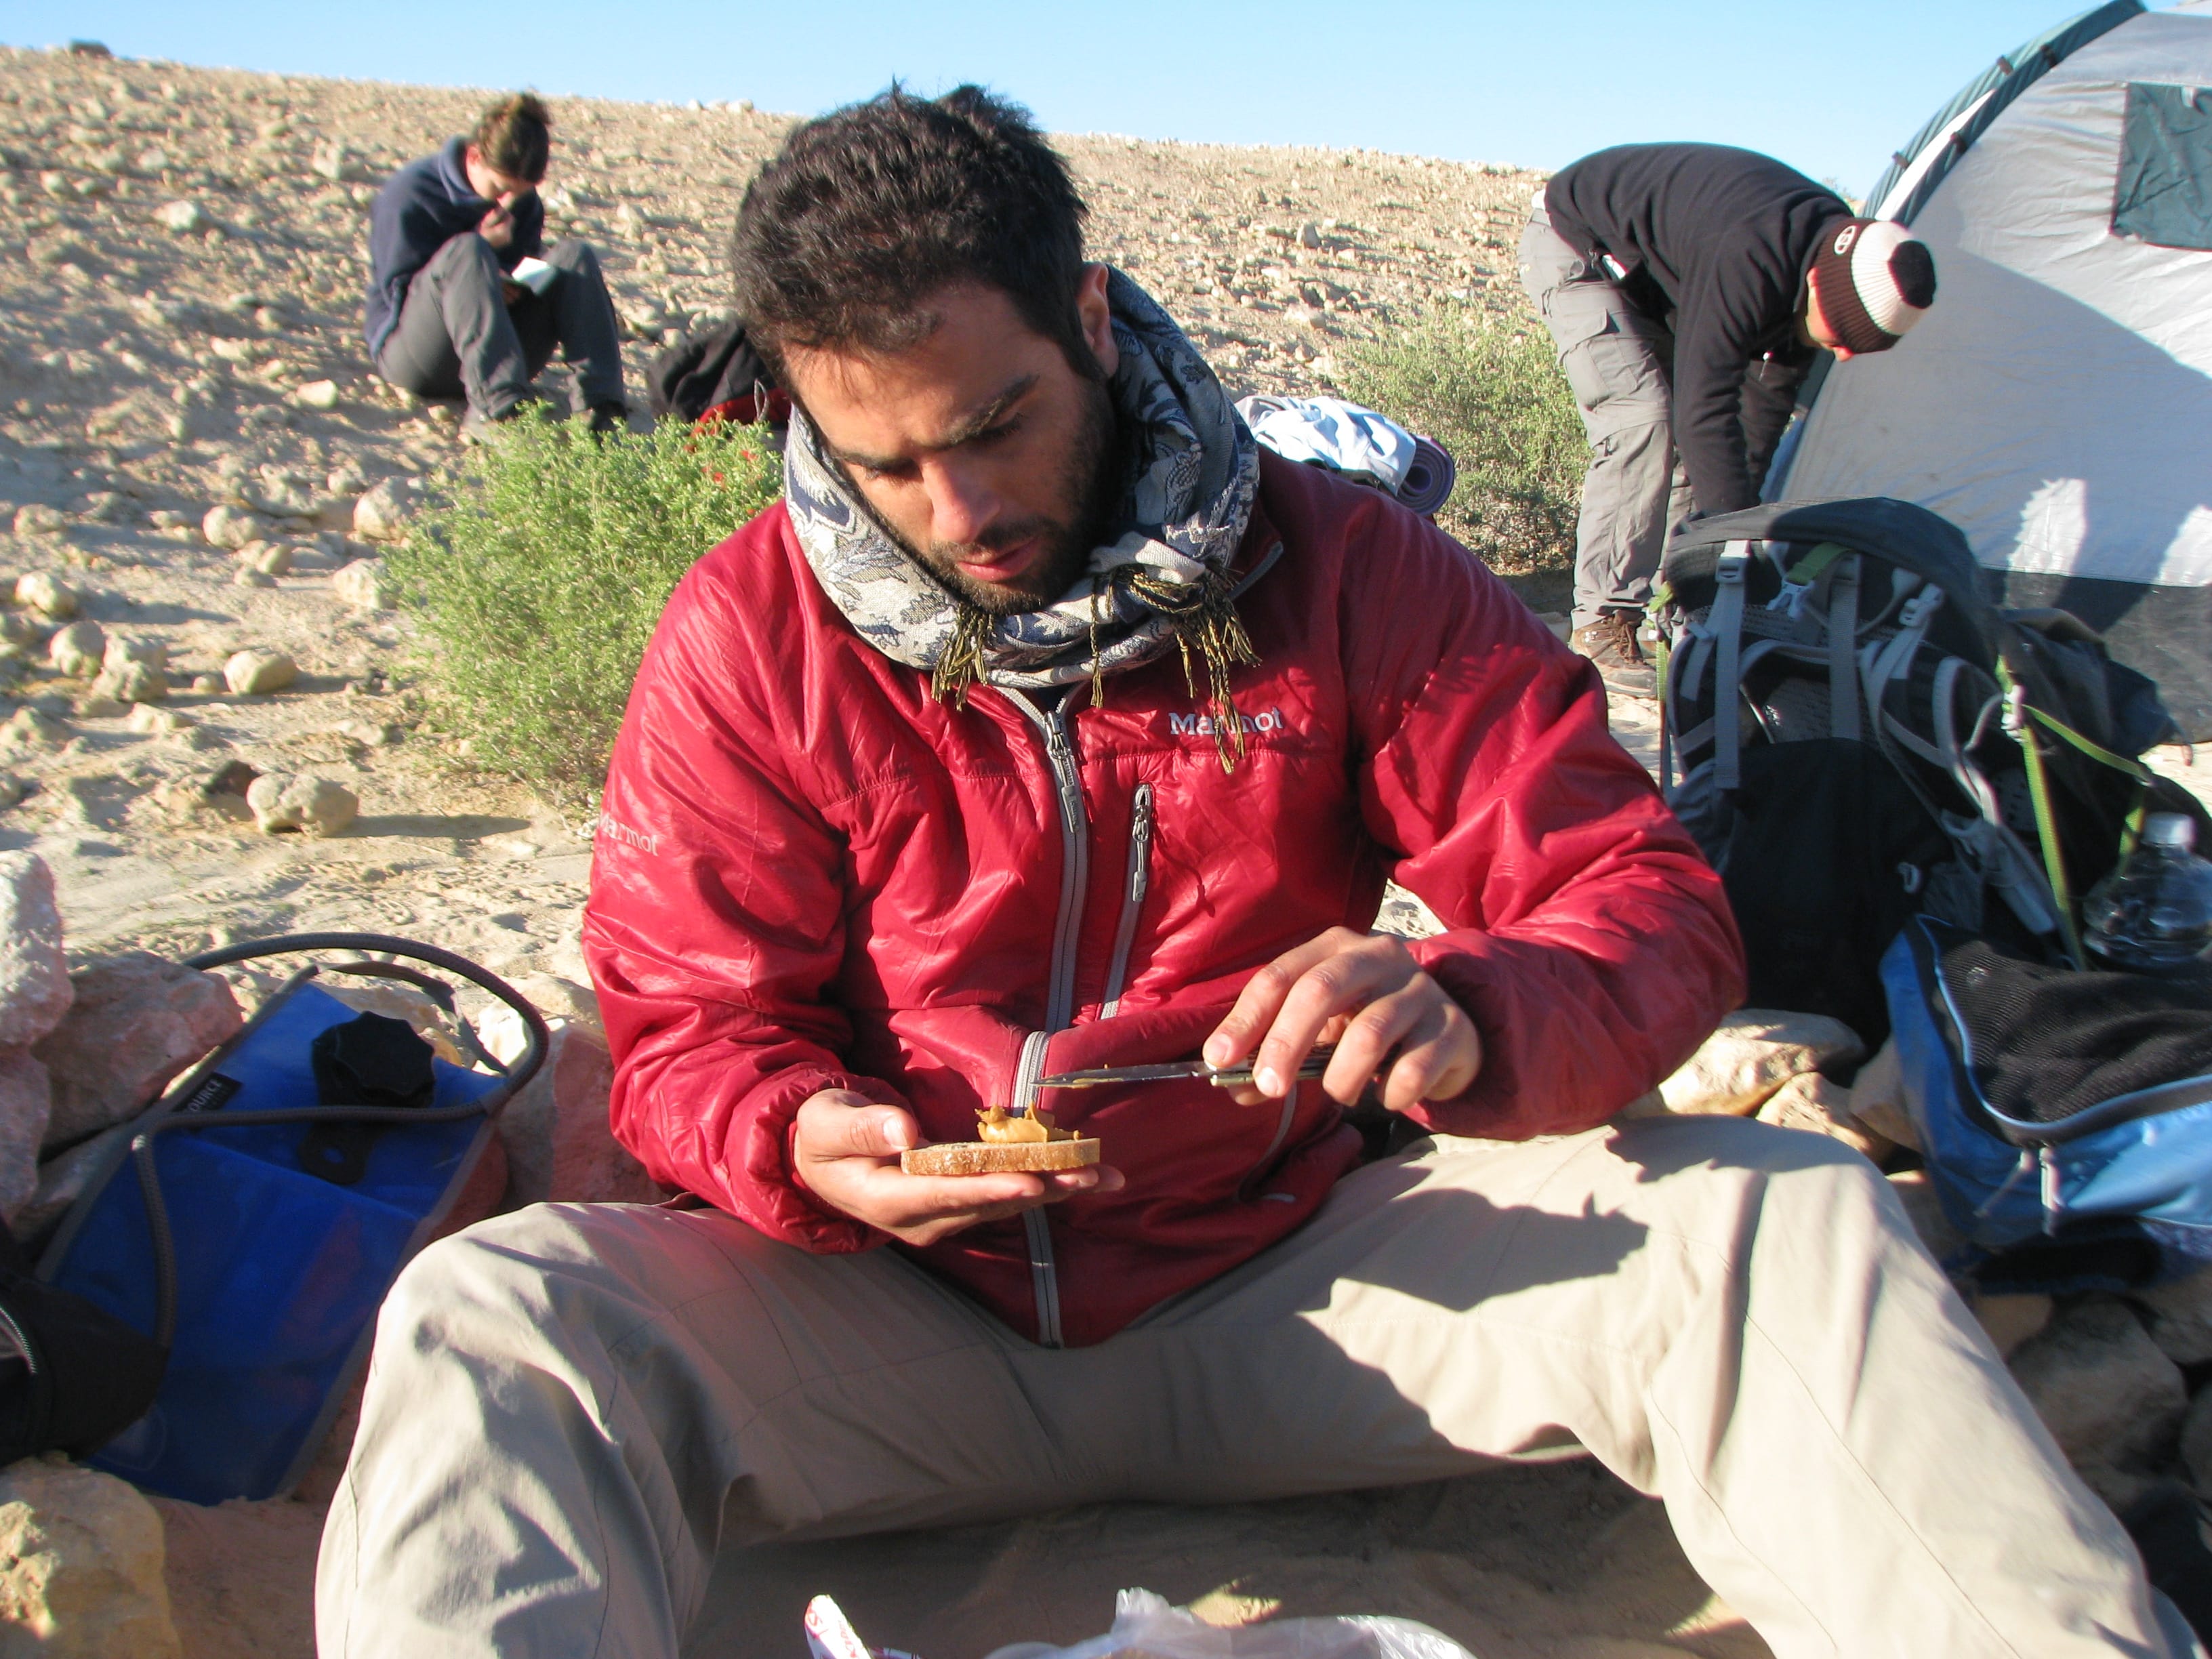
When I trek on my own and I’m doing a particularly long trail segment, I don’t take regular lunch breaks. My day begins bright and early with the rising sun. At this ungodly hour, no one wants to sit down to a meal, so I boil water for Turkish coffee (while packing up) and nush on a few cookies. Then I start my day’s trek and build up an appetite. Towards late morning, I take a break and enjoy a hearty bowl of oatmeal with sliced apple. It’s a nutritious and effective injection of energy. From then on, I focus on covering distance and top up with light snacks throughout the day. Rather than stop for a languid, heavy lunch I prefer to stay light and on the move with energy bars and dried fruit. Come evening and I’m ready to indulge in a proper cooked meal that includes carbohydrates to replenish the energy I expended that day, and I make a point of eating it hot and at leisure.
Daily Menu Sample:
Wake-up (around 6 or 7am): Turkish coffee with wholegrain cookies.
Breakfast (around 9 or 10am): Oatmeal with a few apple slices (half an apple per serving) and dried fruit.
Lunch: No formal break. I take short breaks to eat dried fruit and energy bars.
Dinner: Rice or pasta with olive oil, kabanos and condiments to taste.
Sample Meals and How to Calculate Your Portions:

The following menu samples are for a 6-day trek on a trail segment in the Negev Desert. It’s wise to dedicate a whole day to preparing your food supply, including shopping and divvying up the food into bags for each day of the trek. It’s particularly important to know this for when you stop to replenish supplies. Not every place will stock the abundance or variety of a regular supermarket and sometimes you’ll have to improvise with what you find at the local grocery store.
Breakfast Supplies:
- Elite Turkish coffee – Decant into a plastic container that’s part of a set of stackable containers.
- Oatmeal by weight (5 tablespoons per meal).
- Rice in a Ziploc bag to maintain freshness.
- Apple – A firm fruit that won’t get squashed in your bag. Half an apple per meal. Two apples should be adequate for four days.
- Honey- or chocolate-coated rice cakes – Rice cakes weigh very little and they’re a nice treat to add some variety to breakfast or dinner.
Lunch Supplies:
- Trail Mix in a Ziploc bag (200 g per day). I usually put all the dried fruit that I like along with nuts of all kinds into a big bowl and divide the mix into a bag for each day (see photo above).
- Nature Valley snack bars (one per day, each pack has two bars). Other energy bars are fine.
- Homemade wholegrain cookies – A light, healthy and delicious snack. Can accompany your morning coffee or as a snack along the way.
Dinner Supplies:
- Rice/Pasta – These are simple to prepare and nutritious enough to restock your energy stores. Prepare a bag for each day by weight or buy bags of ready-made pasta or rice that just need to be heated up in boiling water (by weight is preferable). Pasta in particular is pretty lightweight (300 g pasta or 1 cup of rice bagged per dinner meal).
- One pack of kabanos (cured meat sticks), cubed and tossed into your pasta or rice dish.
- Condiments and olive oil.
* I use a small scale to calculate the weight of each bag. After a lot of trial and error, I find this method and the food items I have listed to be the most convenient for trekking. Of course, these are just recommendations.
A few more things:
1) Ziploc bags are highly recommended. They maintain freshness and seal out any moisture (small size bags are just right for your daily meal portions).
2) A good condiment set can turn a drab meal into a fab meal.
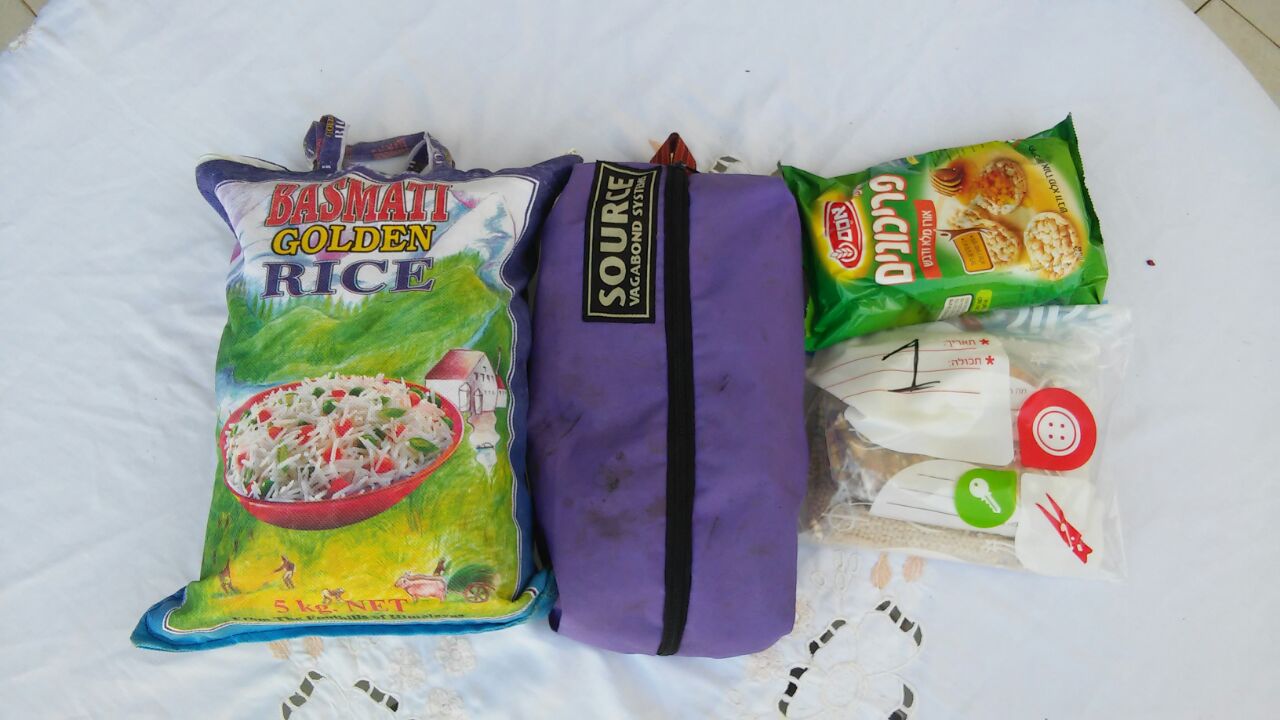
Food for a 6-day trek looks like this when packed and ready to go. In the cloth sack on the left are all the meals for the week. In the Shoresh bag are cooking utensils, coffee and condiments. Each day you’ll bag the food for that specific day in Ziploc bag #1. Ziploc bag # 1 will go at the top of your backpack while the rest of your food will be stowed away at the bottom.
Food Supply for Israel National Trail in Pairs or Groups:
Trekking in pairs or a group on any trail including the Israel National Trail, presents the opportunity to take food and supplies that you can’t justify schlepping when traveling solo. These include supplies such as canned tuna, canned vine leaves, corn, tahini, bread, chocolate, tomatoes, etc. There’s no reason why you shouldn’t take these extra items. You’ll be trekking with your partner or group with a backpack on your back and that makes for very hungry travelers at the end of the day. In this section, I’ll present general recommendations and examples and I’ll also throw in some recipes.

Trekking in a group enables you to carry items that can truly enhance your outdoor dining experience. Turkish coffee is always a winner for the mornings and later on you can take your time to enjoy official meal breaks with no one watching the clock. Your go-to beverage at sunrise in a group is the same as that of a solo traveler.
This is how it works:
You’re still going to get up at the crack of dawn and no one ever wakes up craving breakfast at that hour. So, start with Turkish coffee with some chocolate spread or tahini with honey and then head out. Towards ten o’clock, sit down for a good breakfast and later on stop for lunch with Turkish coffee, and round off the day with a hot dinner, hot tea and some kind of dessert. Your breaks in a group are obviously longer than those of a solo traveler.
Here’s a sample breakfast menu:
Somewhere between 9 and 10 am is usually when you’ll start to feel the need for a good breakfast to keep you going. When I’m on a long trek in a group, I go for comfort food in the form of piping hot oatmeal. Yes, it might have a constipating effect but it’s choc-a-block full of everything your body needs to keep on going for a few more hours. It contains oatmeal; honey; dried fruit; a milk, natural apple concentrate or water base; plenty of healthy grains and a fruit thrown in for extra goodness. Cook everything together in a pot and then tuck in to a heavenly bowl of oatmeal.
Sample Lunch Menu:
A trekker’s lunch is sort of like a factory worker’s lunch break. Spread everything out on a table and enjoy a slice of bread with a generous helping of the spread and/or vegetables of your choice. Group treks I have done have included canned tuna, canned corn, tahini, yellow cheese, tomatoes for the first few days, cucumbers and hard boiled eggs for the first two days at most, bread, onions and canned vine leaves.
Some Variety:
Before you head out on Day One, prepare some whopper sandwiches, wrap them in aluminum foil and you’ll have lunch ready for that day. You can also boil up some eggs for the first day before you leave.
How to calculate quantities:
- Standard canned tuna – enough for two people per meal
- Half a tomato per person, per day
- One large onion per meal is enough for 3-4 people
- One package of yellow cheese is enough for 3 days
- 400-500 g of tahini (I recommend Har HaBeracha brand) is enough for more than a week.
Dinner Sample:
The ideal here is a carbohydrate-rich hot meal. In a group you can splurge on both a pot and a pan, with a carb like rice, pasta or ptitim in the pot and a sauce in the pan, to go on top of your carb. You can try some interesting sauces, like tomato sauce, baked beans and chunks of kabanos. Of course, a good condiment set will totally spice up your meal.
***
Got something to add? I’d love to hear your thoughts – Leave a comment.